Mac Screenshot Shortcuts Worth Memorizing
By Roman Resenchuk,
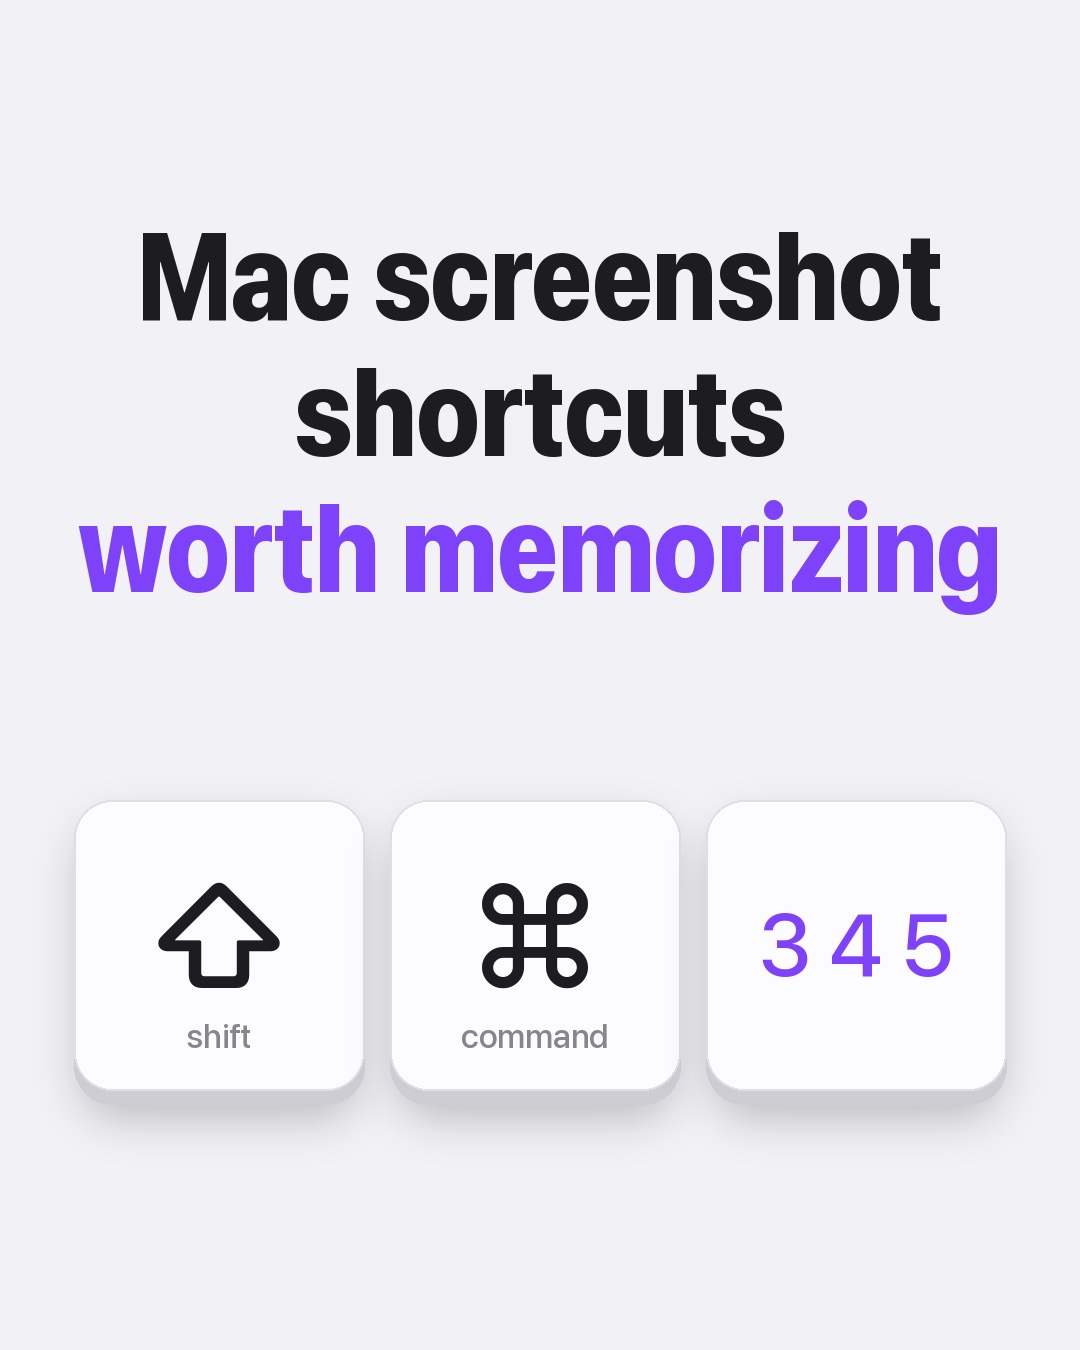

Mac screenshot shortcuts are the fastest way to capture a screen, an area or a single window, and five of them cover almost everything. This guide lists each key combination from Apple's documentation, then shows how CloudShots, a screenshot app for Mac and iPhone, carries the result to your iPhone.
The Mac screenshot shortcuts worth memorizing
You do not need a dozen shortcuts. Five habits cover nearly every capture on a Mac, and each one is a single chord you can learn in an afternoon. They all start from the same two modifier keys, Shift and Command, so the only thing that changes is the number or the extra key you add.
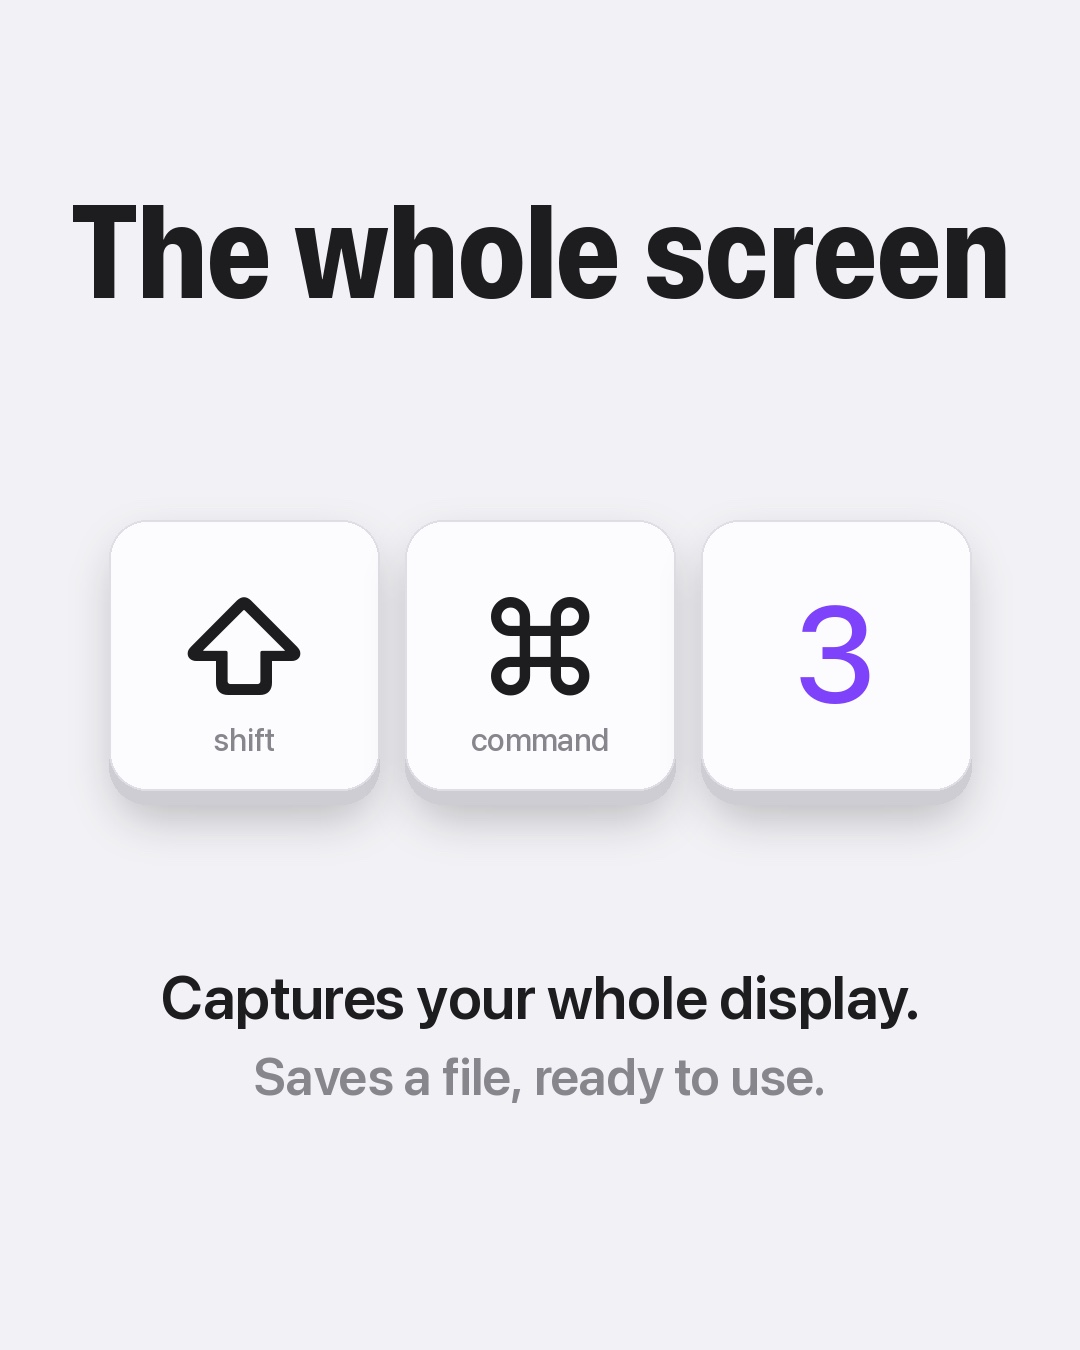
Shift-Command-3: capture the whole screen
Press Shift, Command and 3 together and the Mac captures the entire screen. A thumbnail appears in the corner for a moment; click it to mark it up, or ignore it and the file saves to your desktop. It is the right choice when you want everything on the display, for example to show a full layout to a colleague.
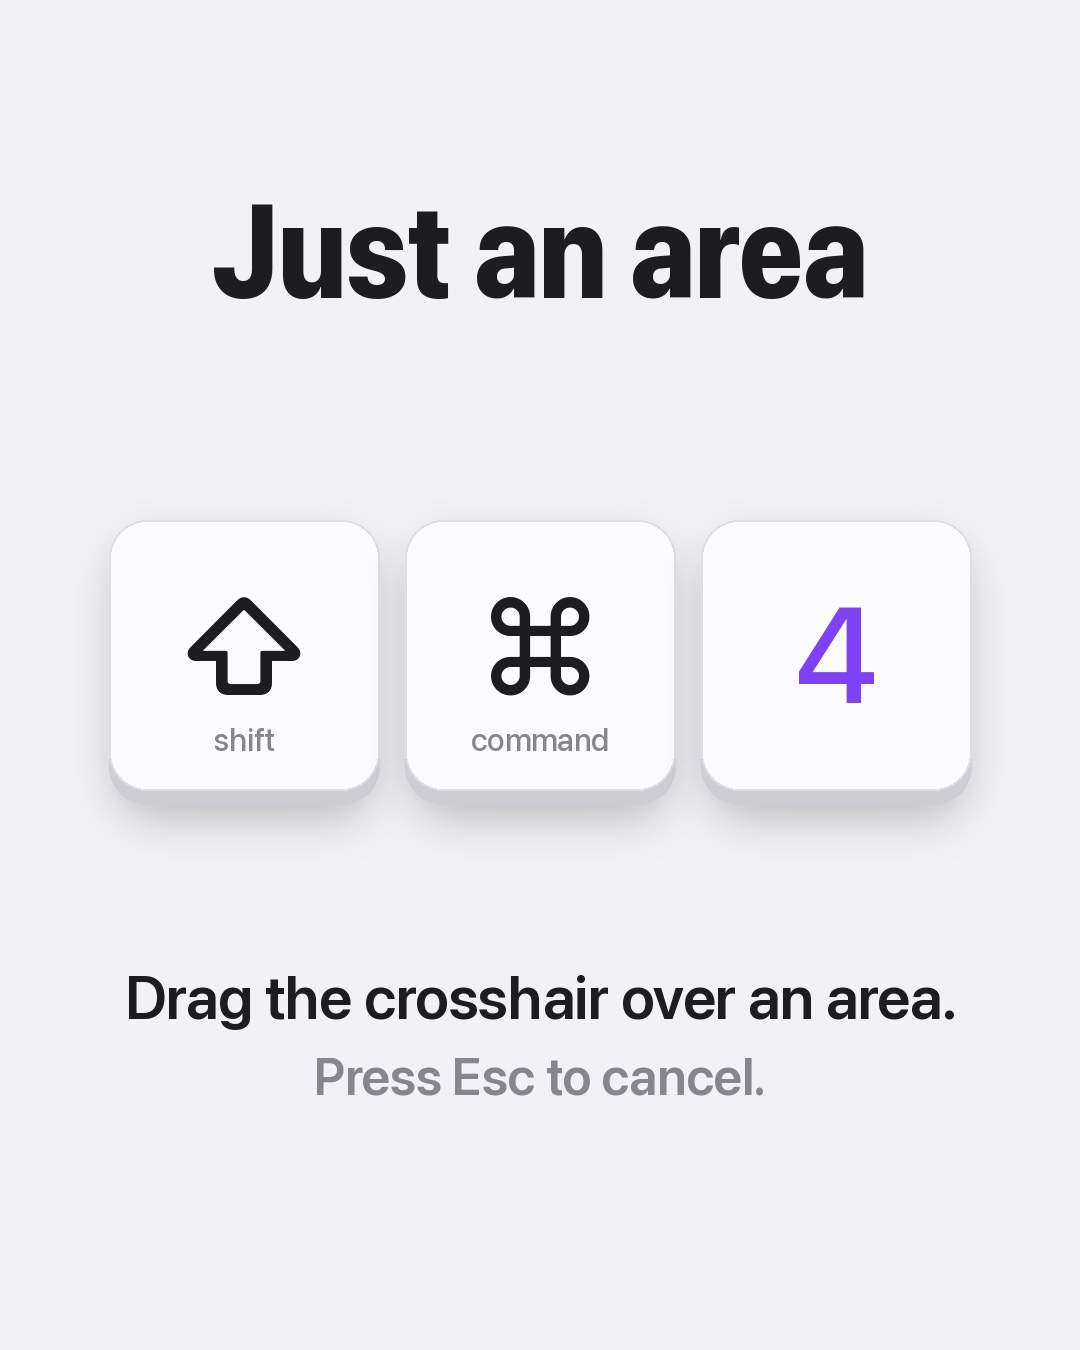
Shift-Command-4: capture just an area
Press Shift, Command and 4 and the pointer turns into a crosshair. Drag over the part of the screen you want, and release to capture it. If you change your mind before releasing, press Esc to cancel. Holding the Space bar while you drag moves the whole selection instead of resizing it, which helps when the box is the right size but in the wrong place.
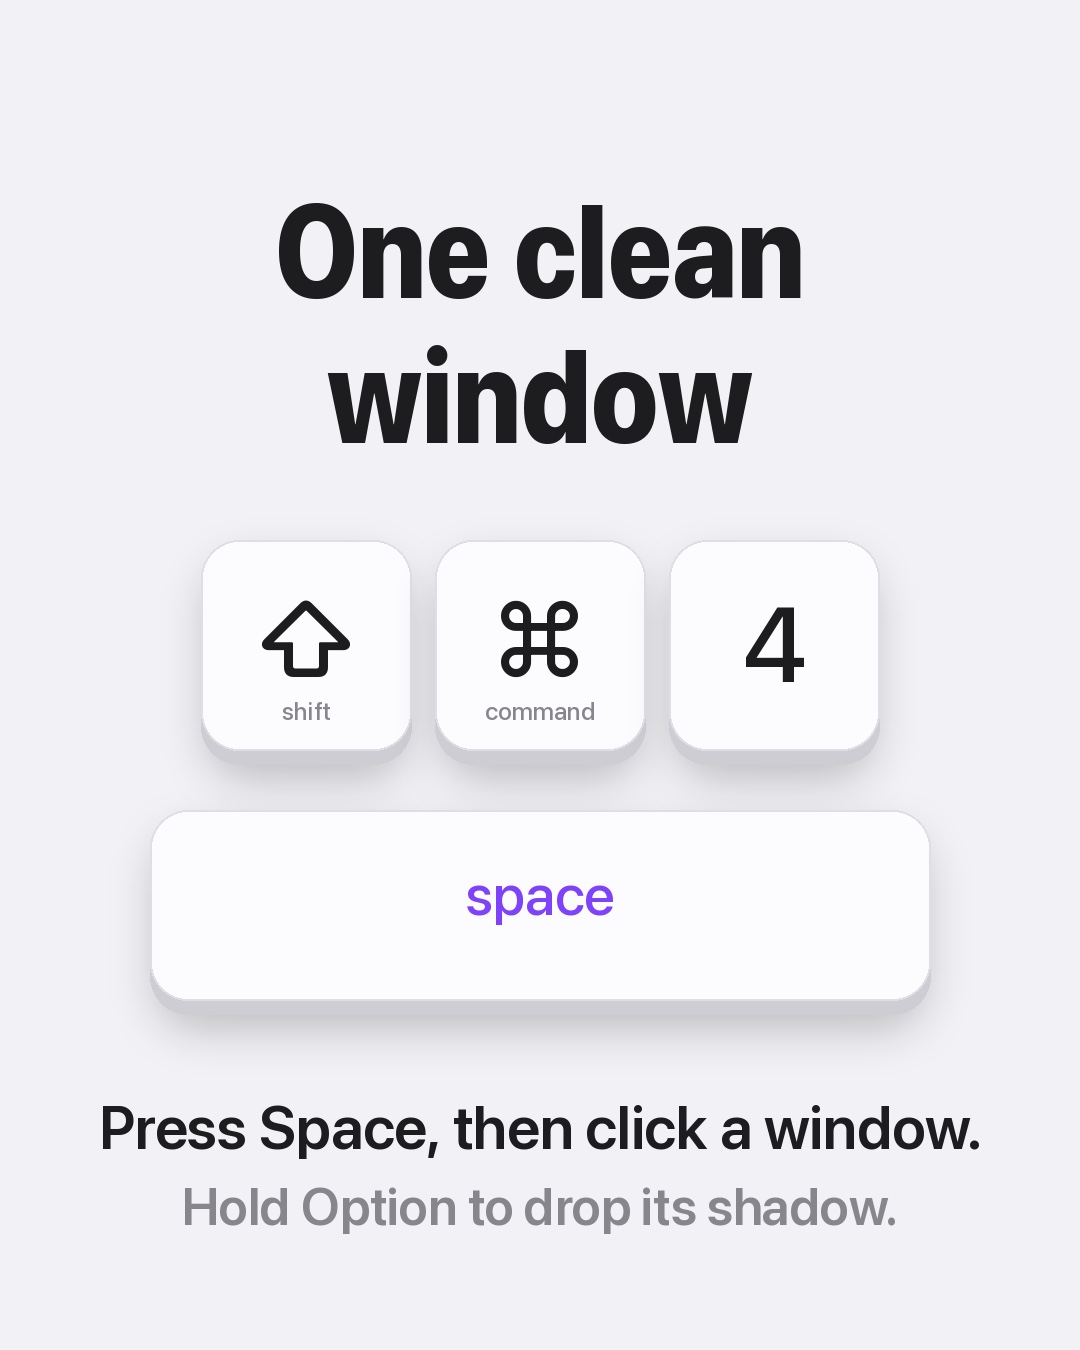
Shift-Command-4, then Space: capture one window
Start with Shift-Command-4, then press the Space bar. The crosshair becomes a camera icon. Click any window or menu and the Mac captures only that one. By default the shot includes the window's soft shadow; hold Option while you click and the shadow is left out, which gives a cleaner image to paste into a document.
Add Control to copy instead of save
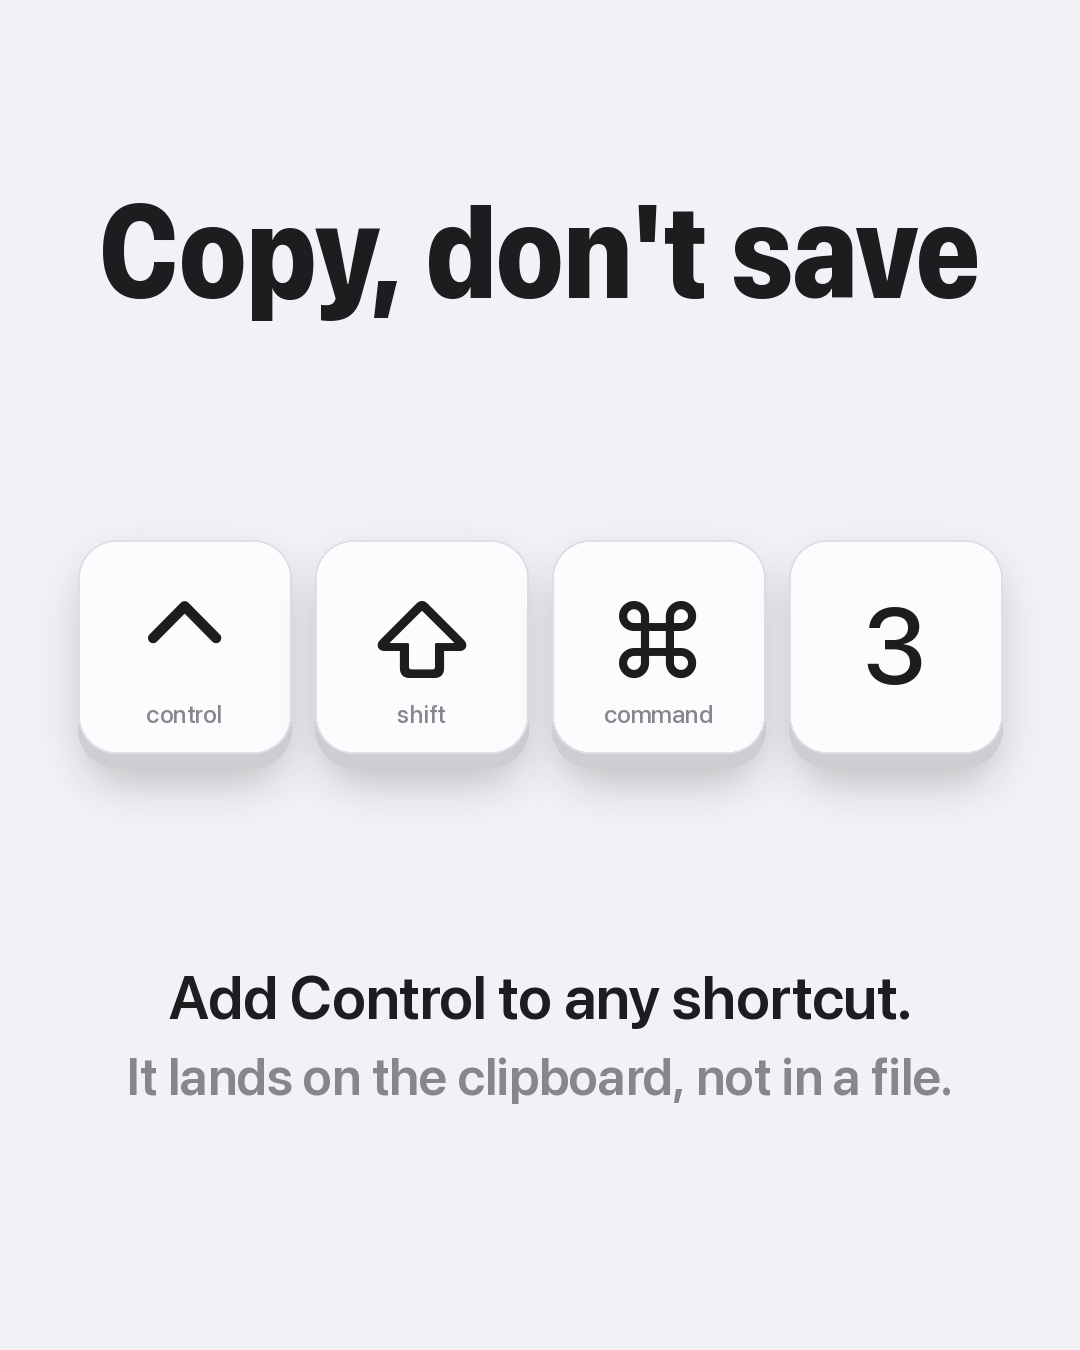
Every shortcut above saves a file by default. Add the Control key, for example Control-Shift-Command-3, and the screenshot goes to the clipboard instead. You can paste it straight into a message, a note or a design file, and no stray file lands on your desktop. This one habit removes most of the clutter that screenshots leave behind.
Shift-Command-5: choose where screenshots save
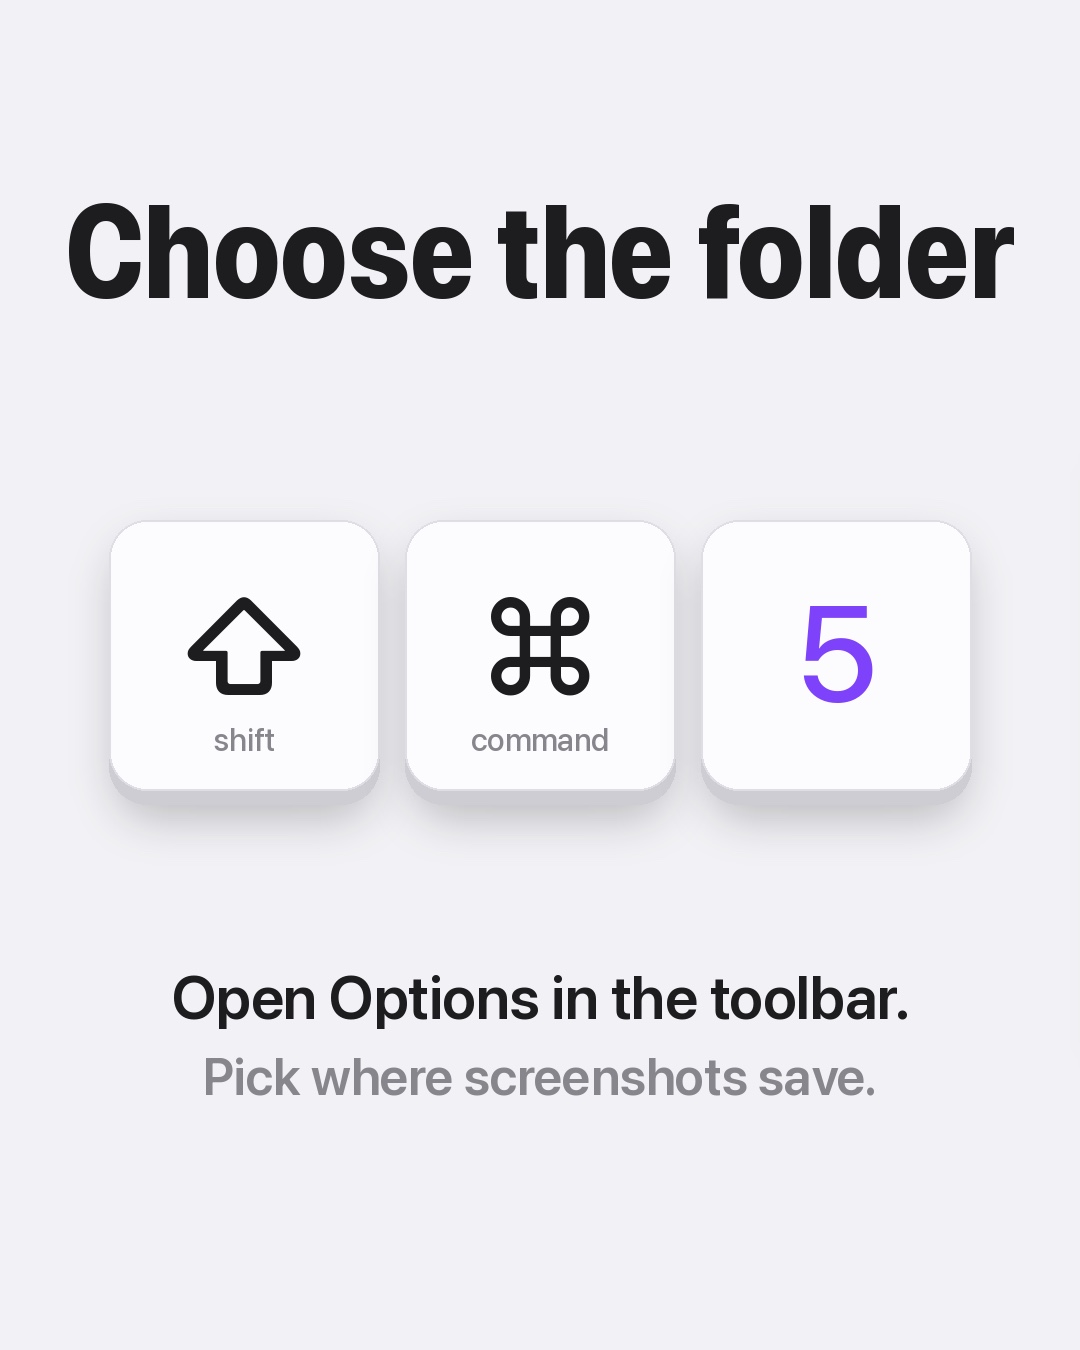
Shift-Command-5 opens the Screenshot toolbar. Its Options menu lets you set a timer, choose the save location, and show or hide the floating thumbnail and the pointer. Change the save location once and every later screenshot goes to that folder, so you decide where they pile up instead of leaving them on the desktop.
How to send Mac screenshots to your iPhone with CloudShots
CloudShots is a screenshot app for Mac, iPhone, iPad and Apple Watch that I build in my free time. It reads the folder where your Mac saves screenshots, and the shortcuts above keep working exactly as before. Here is how to set it up:
- Install CloudShots on your Mac and on your iPhone, signed in to the same Apple ID.
- On the Mac, choose the folder where screenshots are saved. The desktop is pre-selected during setup, and Shift-Command-5 Options can change it.
- Take a screenshot with any shortcut above.
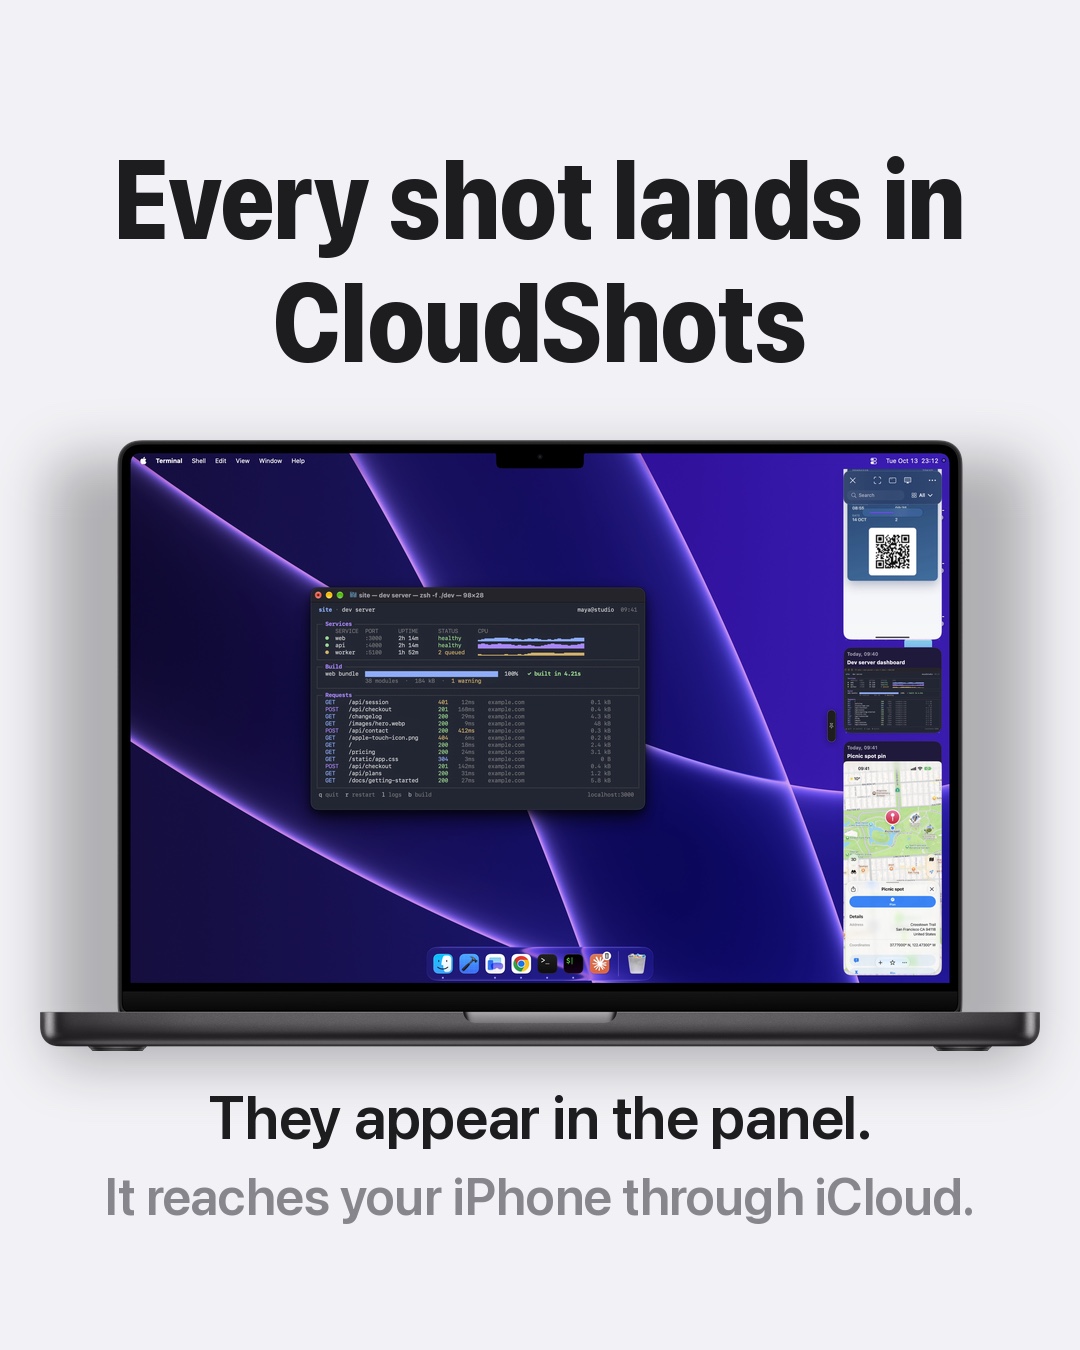
- The CloudShots panel slides in at the edge of the screen with the new screenshot, and a moment later it appears in the feed on your iPhone.
Syncing runs through your own private iCloud, and there are no CloudShots servers that hold your screenshots. The Mac and iPhone sync guide walks through the same flow with the exact screens.
Why the save location matters
A screenshot saved to the clipboard disappears the moment you copy something else, and a screenshot saved to the desktop sits among everything else you keep there. A dedicated folder gives every screenshot one predictable home. Once that home is watched by CloudShots, each new file is imported, searchable by the words inside it, and available on your other devices. The guide to finding text in screenshots explains how that search works.
FAQ
How do I use Mac screenshot shortcuts?
Press Shift-Command-3 for the whole screen or Shift-Command-4 to drag over an area. Both save a file to your desktop by default, and Shift-Command-5 opens the Screenshot toolbar with more choices.
How do I screenshot a single window on a Mac?
Press Shift-Command-4, then the Space bar, and click the window. Hold Option while you click to leave out the window's shadow.
Can a Mac screenshot go to the clipboard instead of a file?
Yes. Add the Control key to any of the shortcuts, for example Control-Shift-Command-3, and the screenshot is copied to the clipboard instead of saved as a file.
Does CloudShots change how I take screenshots on a Mac?
No. You keep the same shortcuts. CloudShots picks up each new screenshot from the folder you chose and shows it in its panel, then syncs it to your iPhone through your private iCloud.
Where can I change where Mac screenshots are saved?
Open the Screenshot toolbar with Shift-Command-5, choose Options and pick a save location. CloudShots then imports new screenshots from the folder you set for it.
Download on CloudShots.app.
More guides
- How to automatically sync screenshots between Mac, iPhone and iPadOne private screenshot history that syncs both ways through iCloud: Mac to iPhone and iPad, and back.
- How to find a screenshot by the text inside itSearch by the words you remember seeing, on any of your devices.
- How to free up the space your screenshots takeClear synced originals from Photos and your Mac without losing your history.
- CloudShots is an iCloud screenshot manager for Mac, iPhone and iPadWhat lives in your own iCloud, how the library limit works, and what stays private.
- One screenshot history for your Mac, iPhone and iPadOne searchable history of every screenshot from your Mac, iPhone and iPad, synced through your own iCloud. Find any shot and free up storage.
- How to pin a screenshot on screen on MacKeep a screenshot floating above your other windows on Mac with ⌘P. Pin up to 6, move and resize them, close with Esc.
- How to redact or blur text and faces in a screenshot on MacBlur, pixelate or cover text, faces and objects in a screenshot on Mac. Redaction in CloudShots is non-destructive: your original stays untouched.
- How to add a background, padding and shadow to a screenshot on MacExport a Mac screenshot with a background, padding, rounded corners and a shadow using Export with Frame in CloudShots. Copy, save or share the result.
- CloudShots compared with a premium all-in-one capture suiteHow CloudShots compares with a premium, paid all-in-one capture and annotation suite for Mac: history, text search, redaction and pricing.
- CloudShots compared with a floating screenshot toolHow CloudShots compares with a floating, pin-on-screen screenshot tool with a quick library: history, text search, redaction and pricing.
- CloudShots compared with a fast capture and text-recognition utilityHow CloudShots compares with a fast, lightweight capture utility with on-screen text recognition: history, text search, redaction and pricing.
- All guides


TestFlight includes Pro for beta testing. No purchase is required or charged.