How to pin a screenshot on screen on Mac
Pin to Screen keeps a screenshot as a small window above your other windows, so you can compare against it while you work. Select a screenshot in CloudShots and press ⌘P. It is available on Mac only.
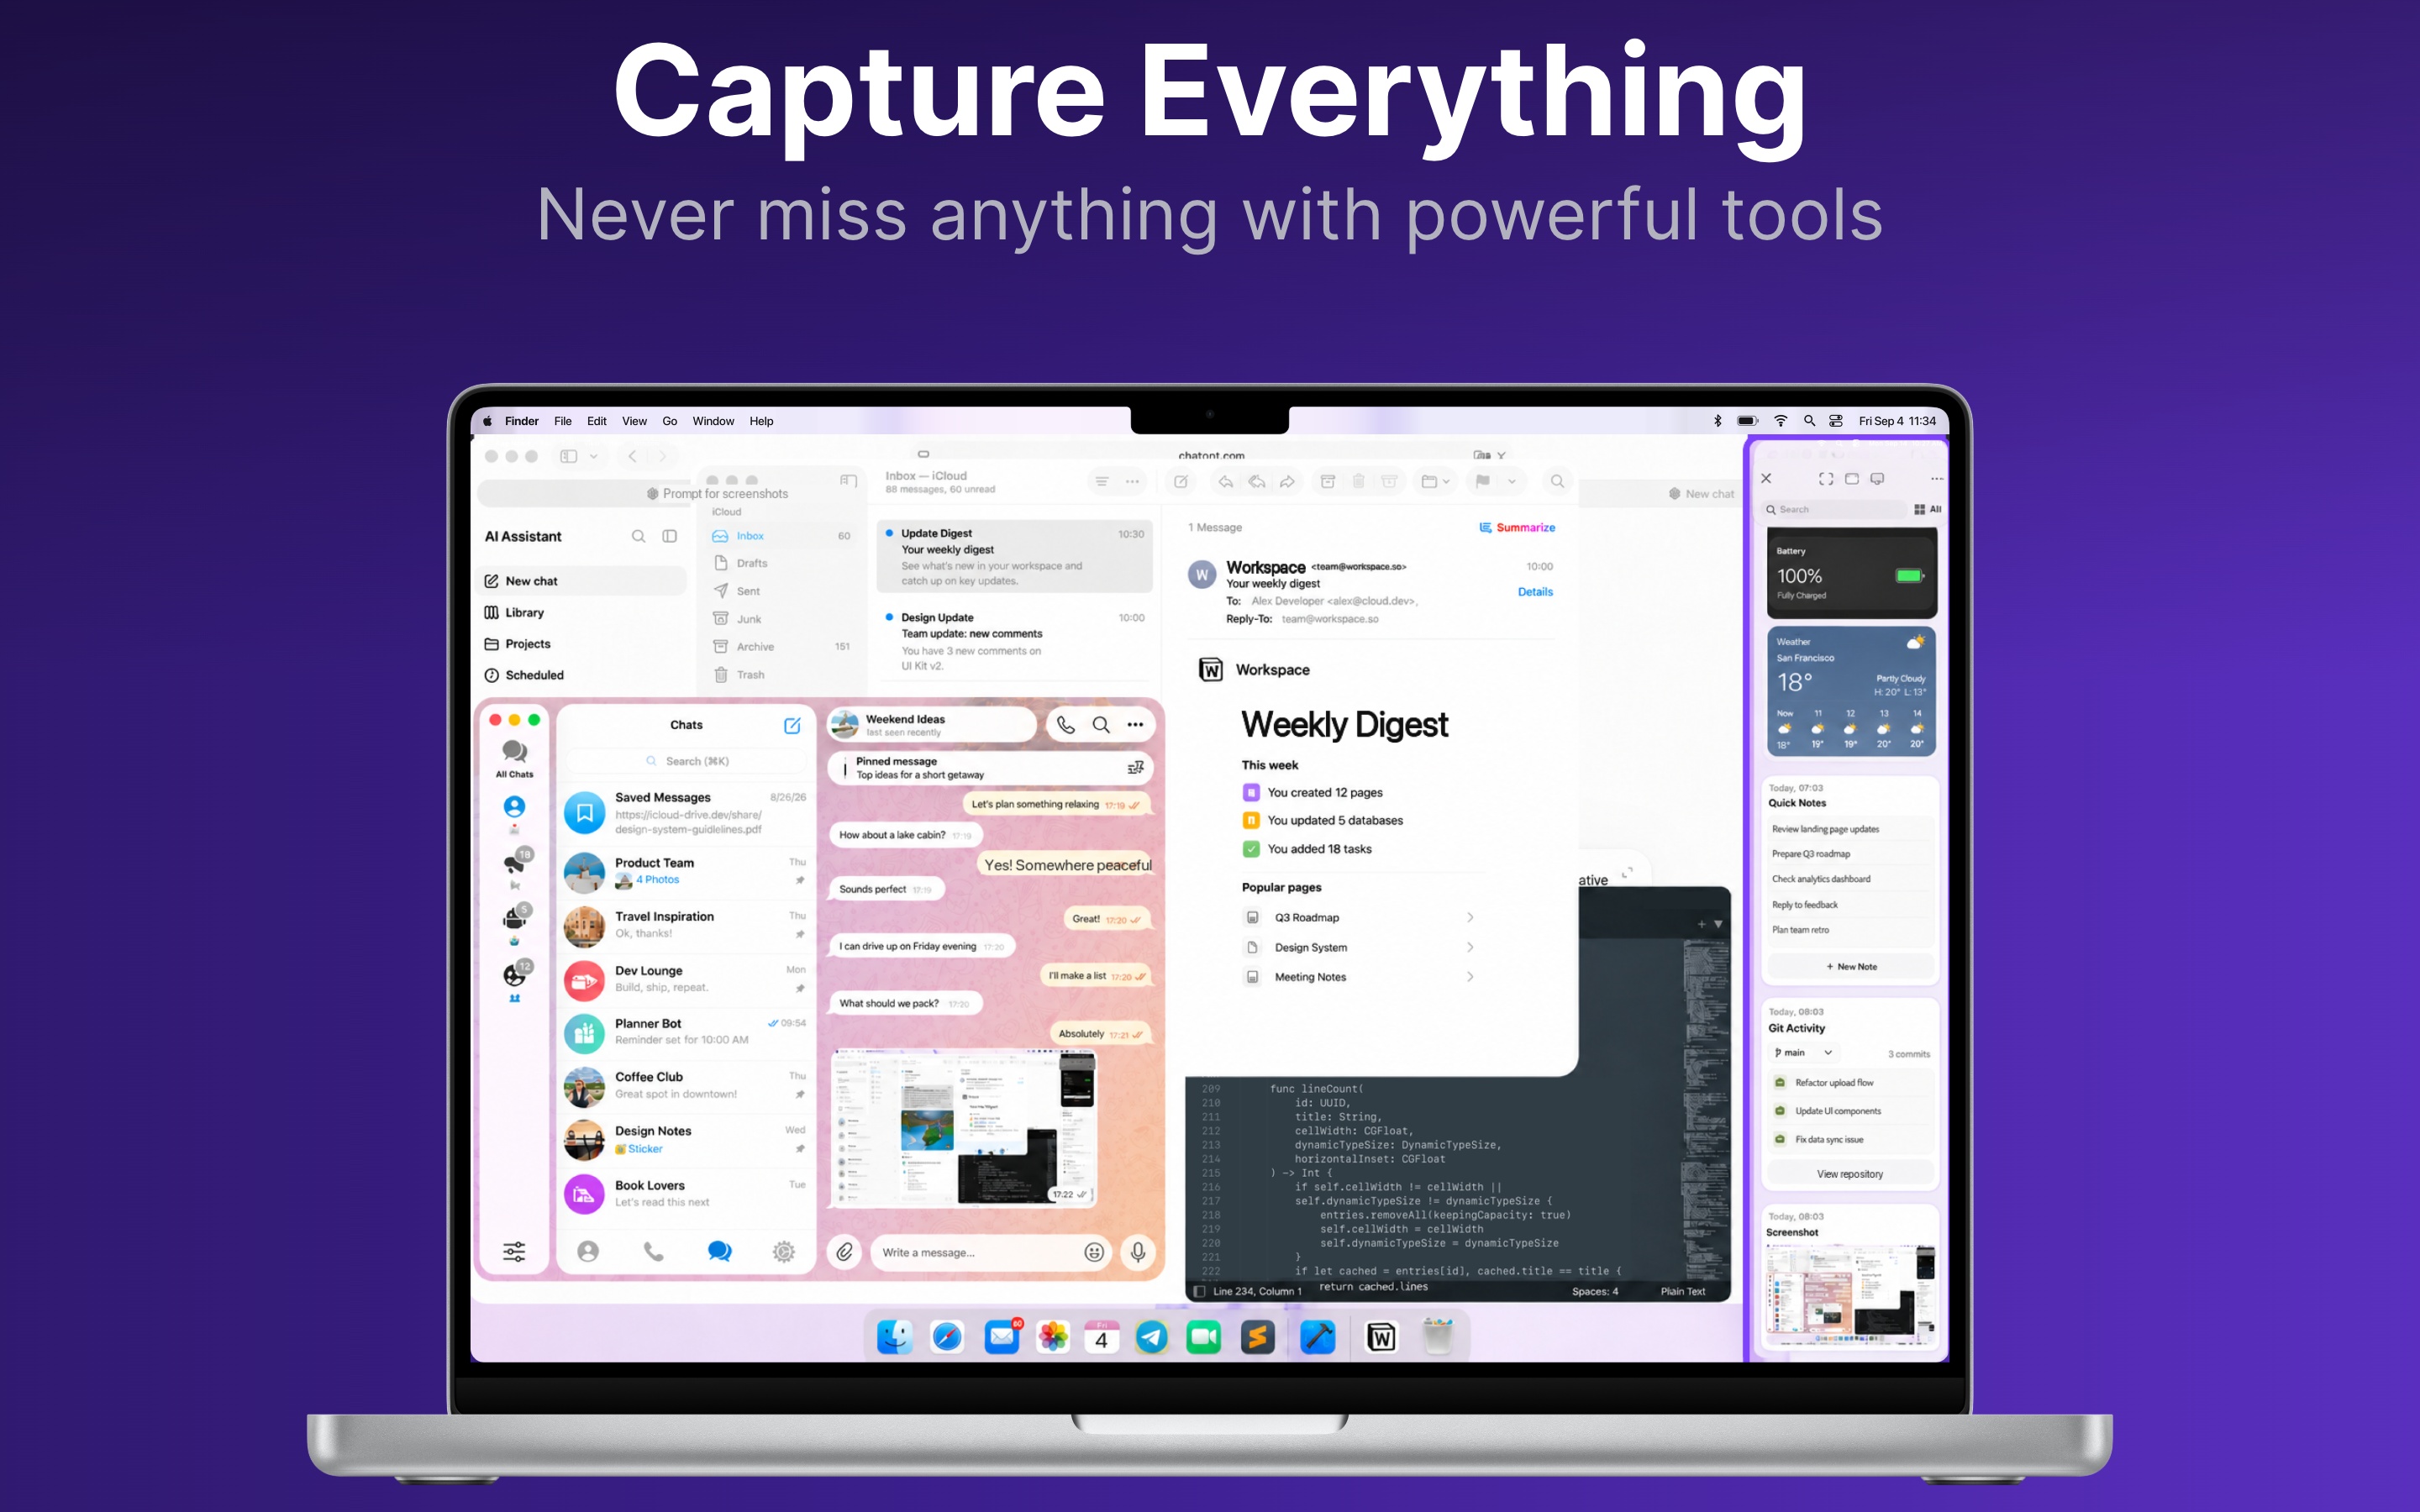
Pin a screenshot
- Open the CloudShots history panel and select the screenshot you want to keep in view.
- Press ⌘P, or use the pin button in Quick Look or Pin in the screenshot’s context menu. The screenshot appears as a floating window.
- Drag the slim bar at the top to move it, and pinch or press ⌘+, ⌘− and ⌘0 to resize it. Press ⌘P again, click the close button, or press Esc or ⌘W to unpin.
How a pinned screenshot behaves
- It floats above other windows and stays on every Space. It does not add an icon to the Dock.
- It shows the screenshot with its annotations and redactions applied. If you edit the screenshot, the pin updates.
- It never appears in CloudShots’s own captures, so a pin used as a reference does not end up in your next screenshot.
- Moving the screenshot to the Trash closes its pin.
Pinning more than one
Select several screenshots or a group and press ⌘P to pin each one, up to 6 at once. Resizing goes from a minimum of 120 pt up to the width of the screen.
The limits
- Pin to Screen is Mac only. iPhone and iPad have no always-on-top window for app content.
- A screenshot locked past the free 30 cannot be pinned.
- Double-clicking a pin does nothing.
Questions
Select the screenshot in the CloudShots history panel and press ⌘P. It stays above your other windows until you unpin it.
Up to 6. Pinning a selection or a group pins each member, within that limit.
Pinch, or press ⌘+, ⌘− and ⌘0, to resize. Close it with the close button on its top bar, Esc, ⌘W, or ⌘P on the original screenshot.
Not in captures made with CloudShots: pins are excluded from its own captures.
More guides
- How to automatically sync screenshots between Mac, iPhone and iPadOne private screenshot history that syncs both ways through iCloud: Mac to iPhone and iPad, and back.
- How to find a screenshot by the text inside itSearch by the words you remember seeing, on any of your devices.
- How to free up the space your screenshots takeClear synced originals from Photos and your Mac without losing your history.
- CloudShots is an iCloud screenshot manager for Mac, iPhone and iPadWhat lives in your own iCloud, how the library limit works, and what stays private.
- One screenshot history for your Mac, iPhone and iPadOne searchable history of every screenshot from your Mac, iPhone and iPad, synced through your own iCloud. Find any shot and free up storage.
- How to redact or blur text and faces in a screenshot on MacBlur, pixelate or cover text, faces and objects in a screenshot on Mac. Redaction in CloudShots is non-destructive: your original stays untouched.
- How to add a background, padding and shadow to a screenshot on MacExport a Mac screenshot with a background, padding, rounded corners and a shadow using Export with Frame in CloudShots. Copy, save or share the result.
- All guides


TestFlight automatically unlocks Pro for beta testing. No purchase is required or charged.