How to redact or blur text and faces in a screenshot on Mac
CloudShots covers sensitive text, faces and objects right in its editor, in a blur, pixelate or solid style. Redaction is non-destructive: the original stays in your library, and no CloudShots surface shows the unredacted image.
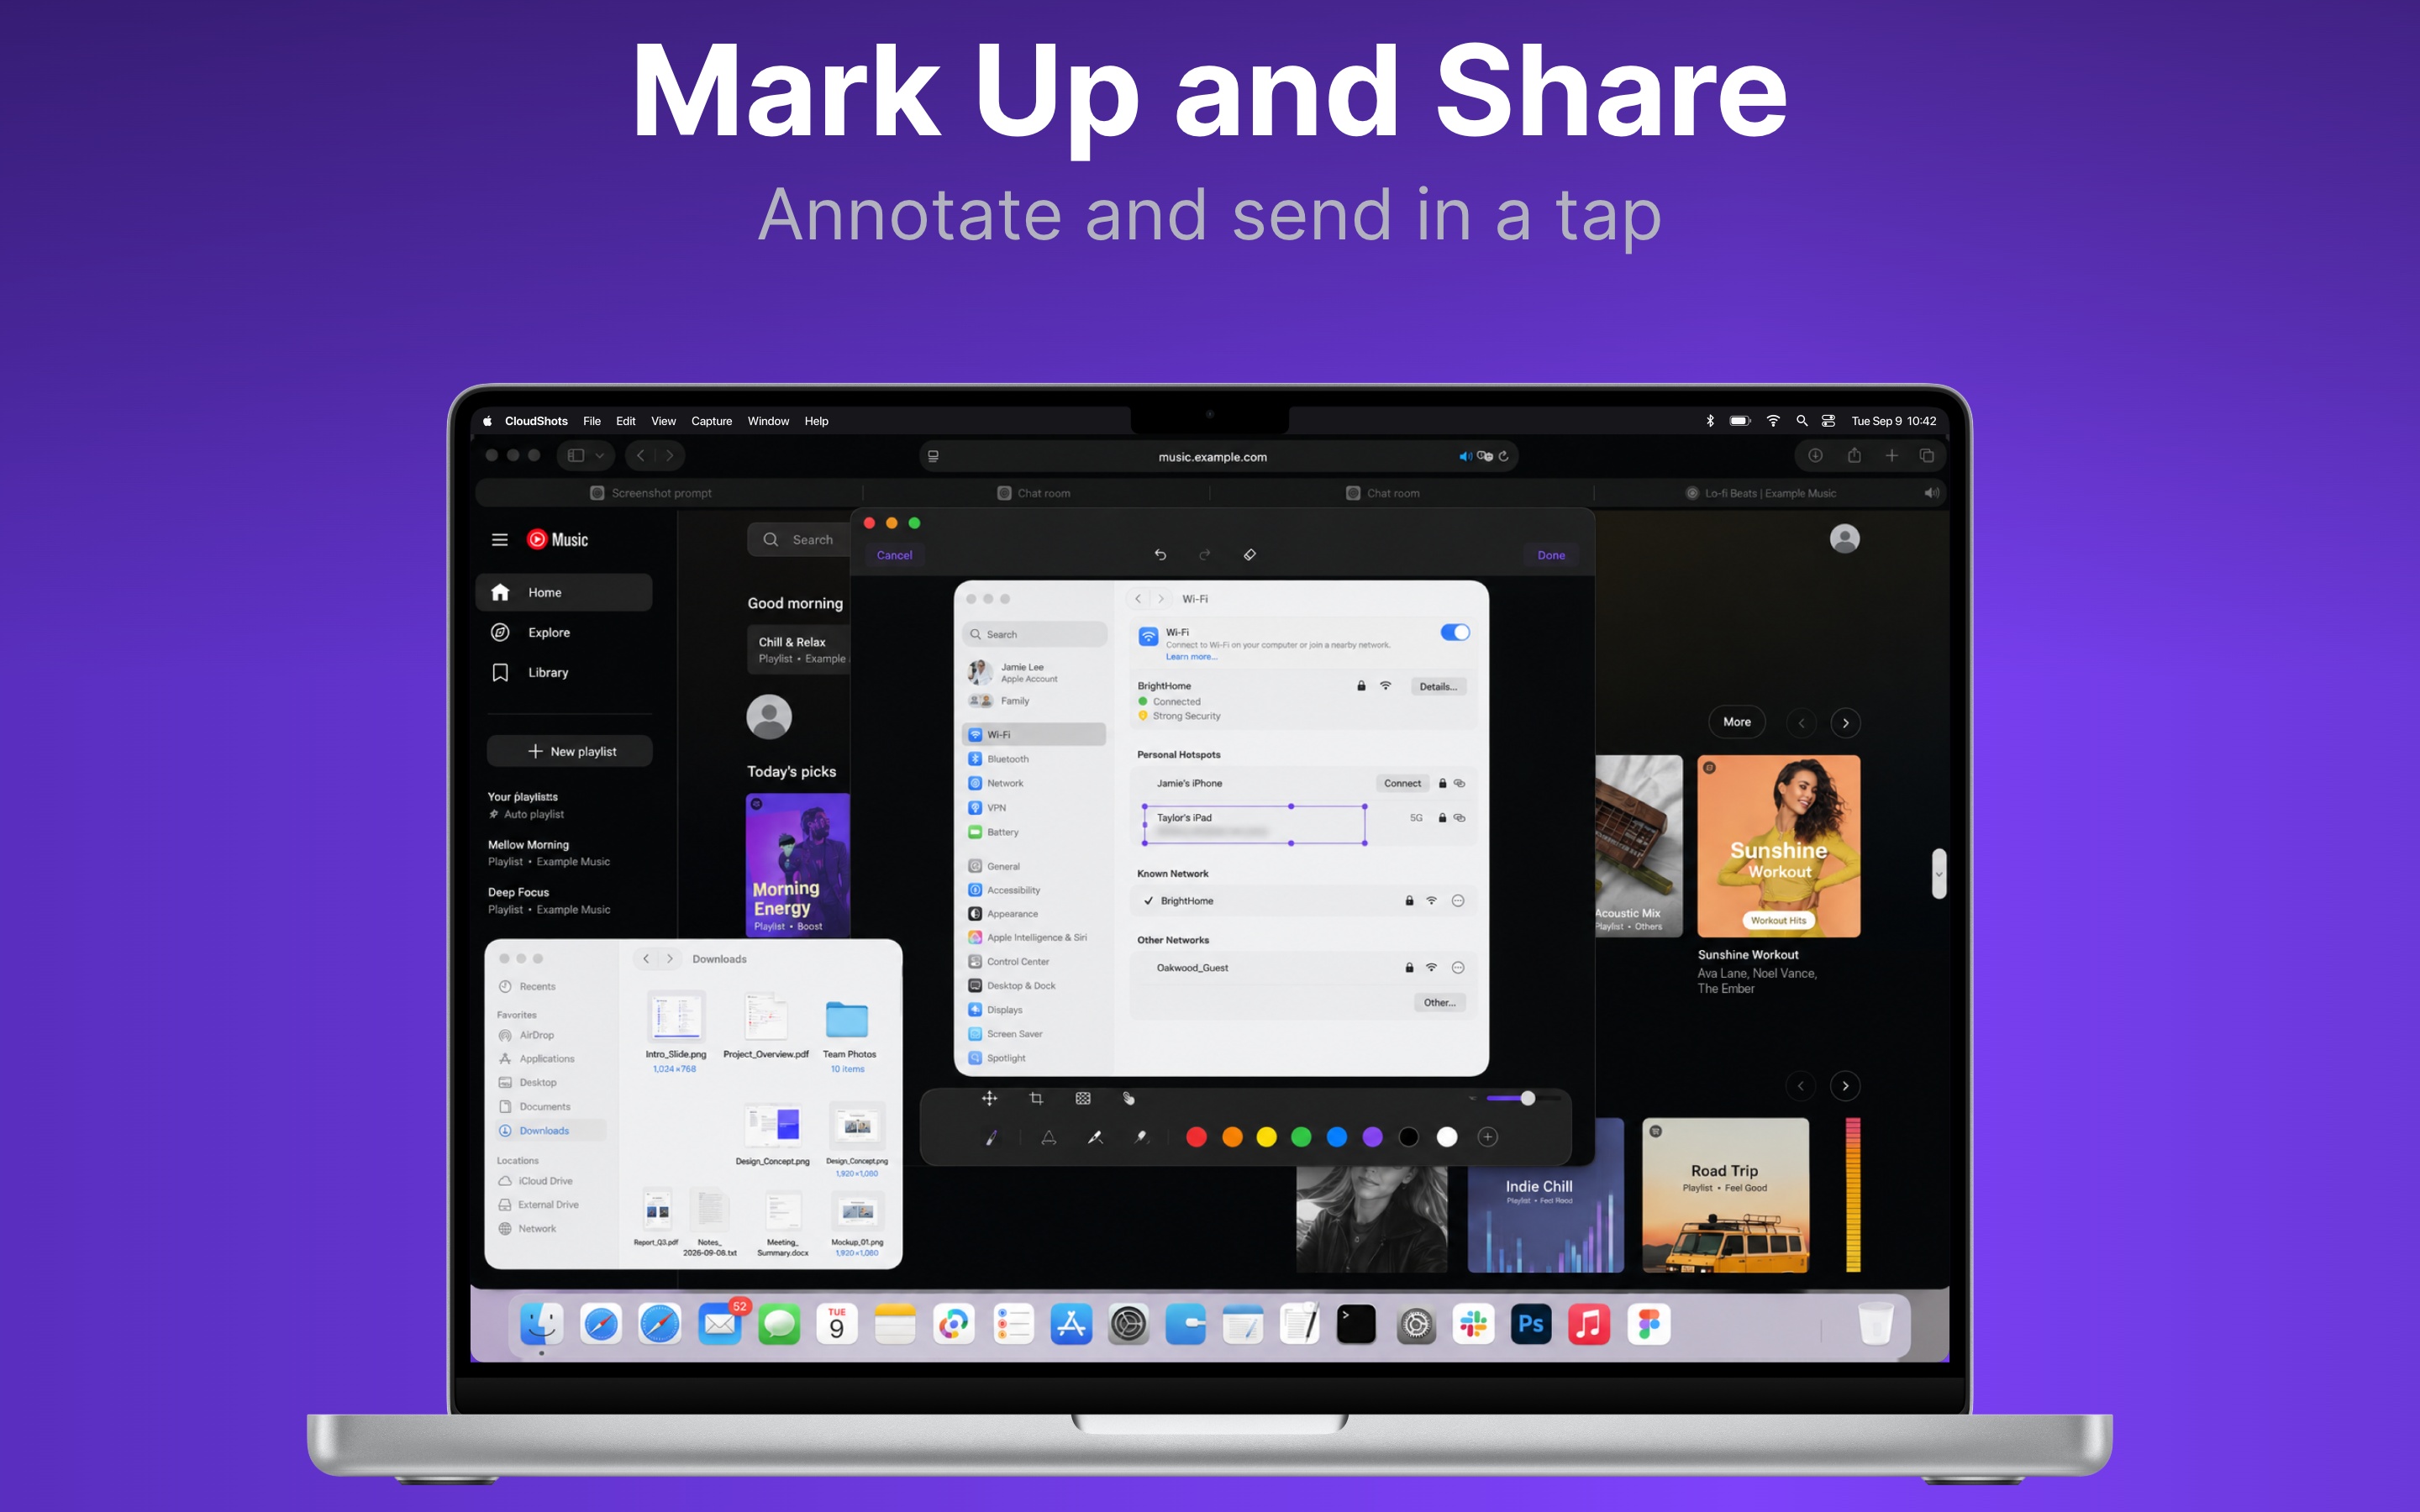
Redact a screenshot
- Select the screenshot in the CloudShots history panel and press ⌘E, or choose Edit in Quick Look, to open the editor.
- Choose the Redact tool and draw over the area, or open the image actions menu and pick Redact all text or Redact faces. Choose a style: blur, pixelate or solid.
- Tap Done. The redaction is saved with the screenshot and syncs to your other devices.
What you can cover
- Any area you draw, or the text inside it.
- All recognized text in one action, found with on-device text recognition.
- Every face in the screenshot, found on your device.
- One object: tap it with Select subject, then redact it. The covered shape is approximate. If the object’s outline cannot be found, the whole box is covered.
Non-destructive by design
- The original pixels are kept, so you can undo and change a redaction later.
- Redacted content stays out of search, Spotlight and AI summaries. Text under a redaction is not indexed.
- Drag-out, pins and Export with Frame use the redacted image, and sharing sends it flattened. If a redacted screenshot cannot be rendered, CloudShots does not share the original.
- Once a screenshot is genuinely shared with other people through iCloud, saved edits are baked into the file for everyone who has it.
The limits
- Redact all text and Redact faces depend on what on-device recognition finds. Check the result before you share.
- Everything runs on your device. Screenshot pixels never go to a CloudShots server.
Questions
Open the screenshot in the CloudShots editor with ⌘E, choose Redact, draw over the text and pick blur, pixelate or solid. Redact all text covers every recognized line at once.
Yes. Redact faces in the editor’s image actions menu detects faces on your device and covers each one. Check the result before sharing.
Not on your own copy. It is non-destructive, so the original stays and you can change it. What you share or export is flattened, so the recipient gets the redacted image.
No. Text covered by a redaction is left out of search, Spotlight and AI summaries.
No. It covers the object’s approximate shape, and if the outline cannot be found it covers the whole box.
More guides
- How to automatically sync screenshots between Mac, iPhone and iPadOne private screenshot history that syncs both ways through iCloud: Mac to iPhone and iPad, and back.
- How to find a screenshot by the text inside itSearch by the words you remember seeing, on any of your devices.
- How to free up the space your screenshots takeClear synced originals from Photos and your Mac without losing your history.
- CloudShots is an iCloud screenshot manager for Mac, iPhone and iPadWhat lives in your own iCloud, how the library limit works, and what stays private.
- One screenshot history for your Mac, iPhone and iPadOne searchable history of every screenshot from your Mac, iPhone and iPad, synced through your own iCloud. Find any shot and free up storage.
- How to pin a screenshot on screen on MacKeep a screenshot floating above your other windows on Mac with ⌘P. Pin up to 6, move and resize them, close with Esc.
- How to add a background, padding and shadow to a screenshot on MacExport a Mac screenshot with a background, padding, rounded corners and a shadow using Export with Frame in CloudShots. Copy, save or share the result.
- All guides


TestFlight automatically unlocks Pro for beta testing. No purchase is required or charged.